Tutorial: Storing Documents Using Cover Sheets
This tutorial will show you how to use cover sheets.
Cover sheets are a great option if you’re trying to store a property specific addenda, or other documents that don’t automatically receive a barcode without using labels.
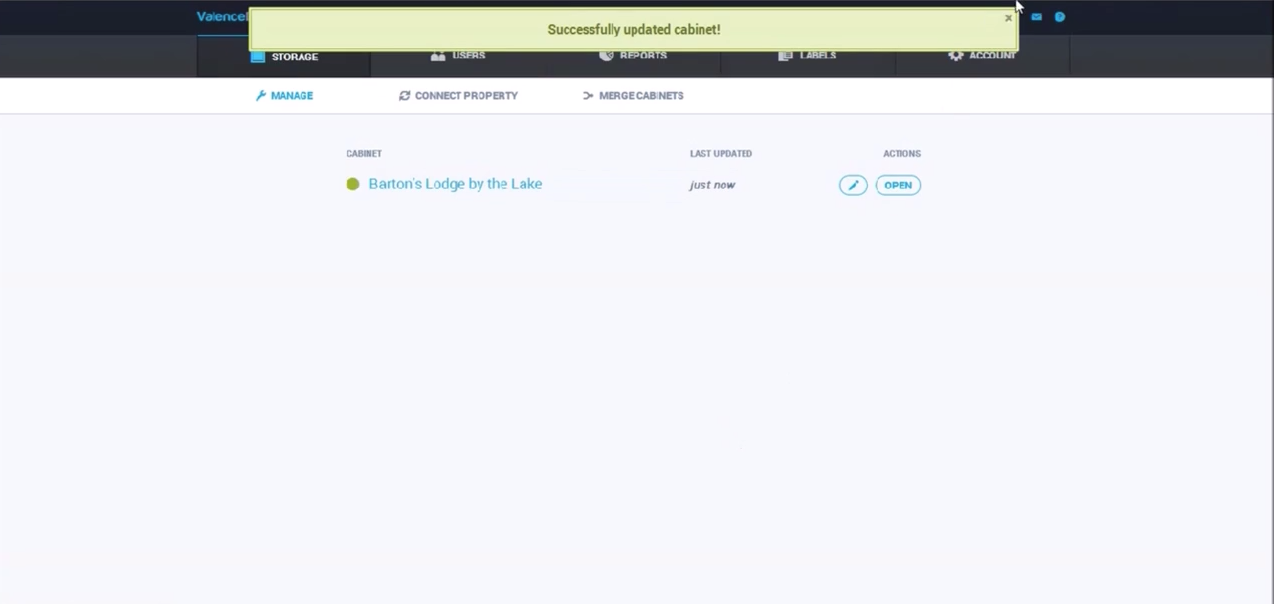
To set up cover sheets, click the edit icon by a property name.
![]()
This will bring you to a screen that will allow you to edit the cabinet title and assign different label titles to be printed along with documents from Blue Moon.
In this example we will be selecting the pets label for an animal addenda.
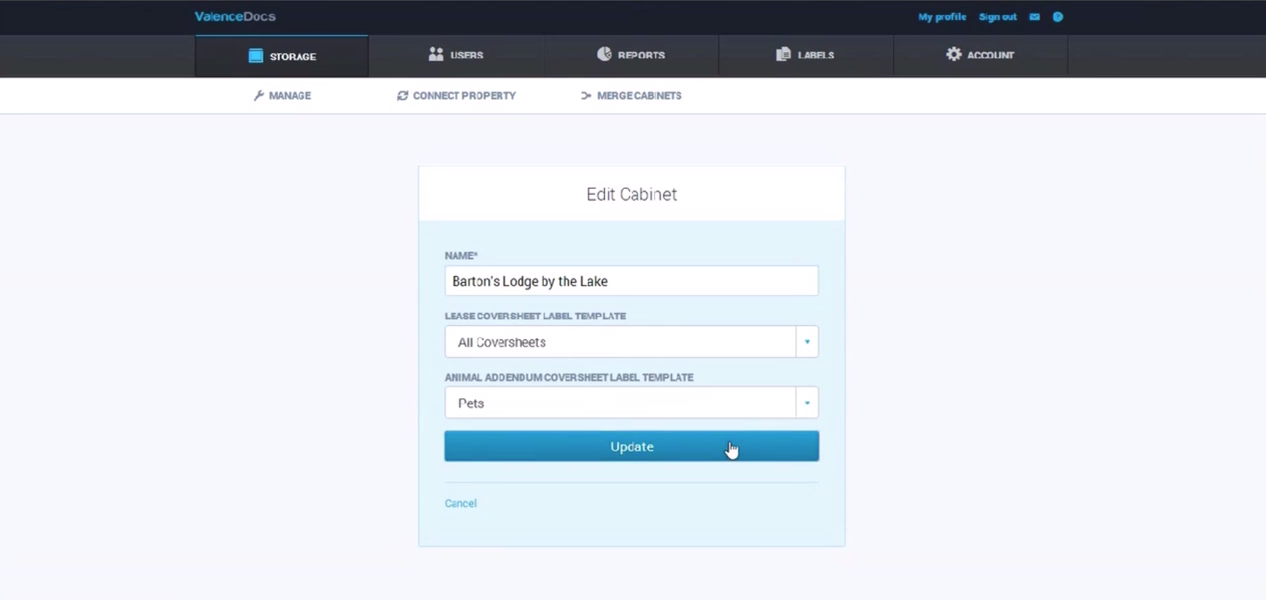
You can modify these templates in the application itself.
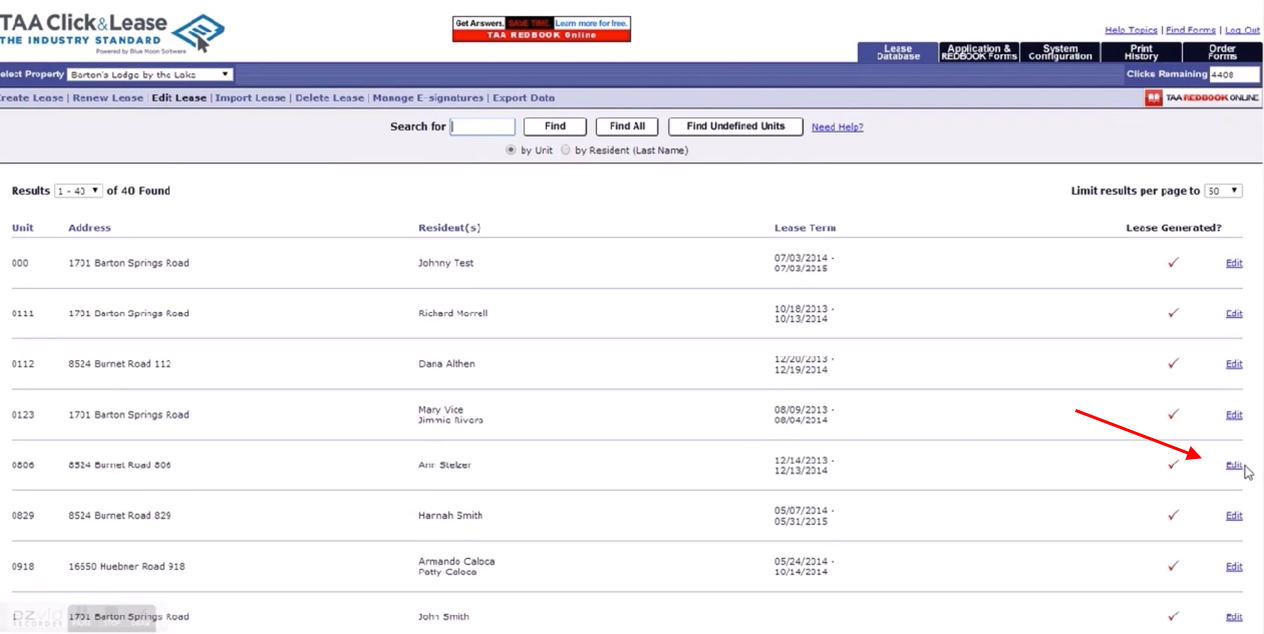
Now that the cover sheets have been set up, you will go to Blue Moon so you can see how cover sheets get generated.
In this example, we will generate a lease for Ann Steltzer.
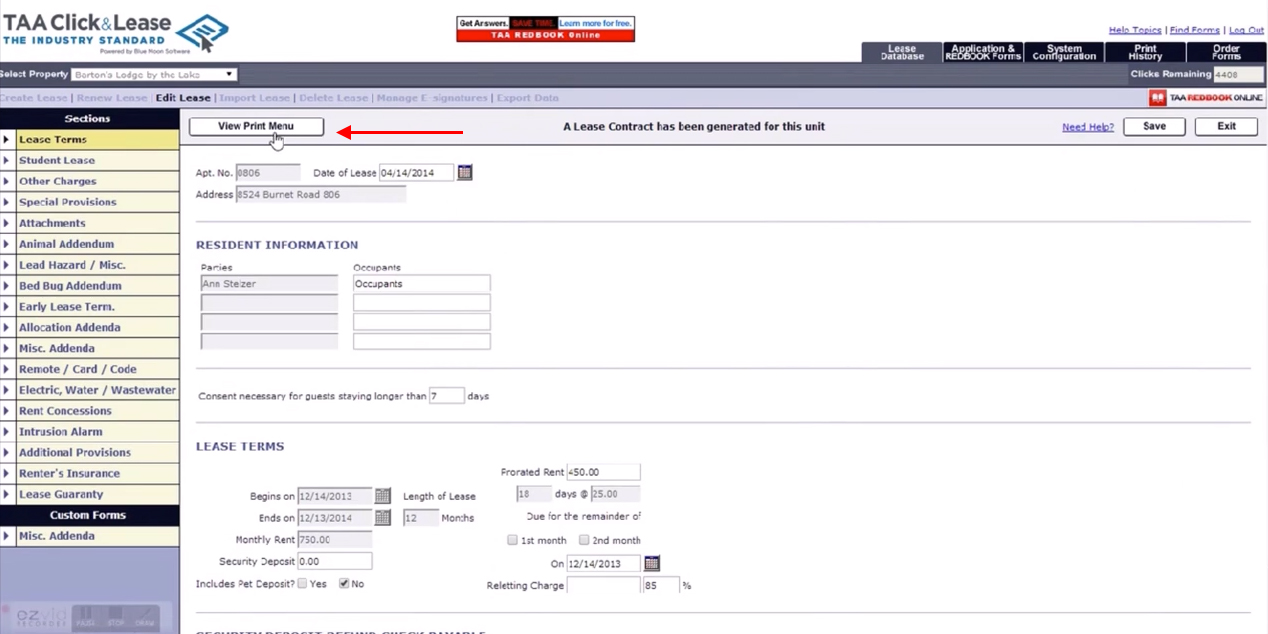
Select view print from the menu bar.
Select print selected forms.
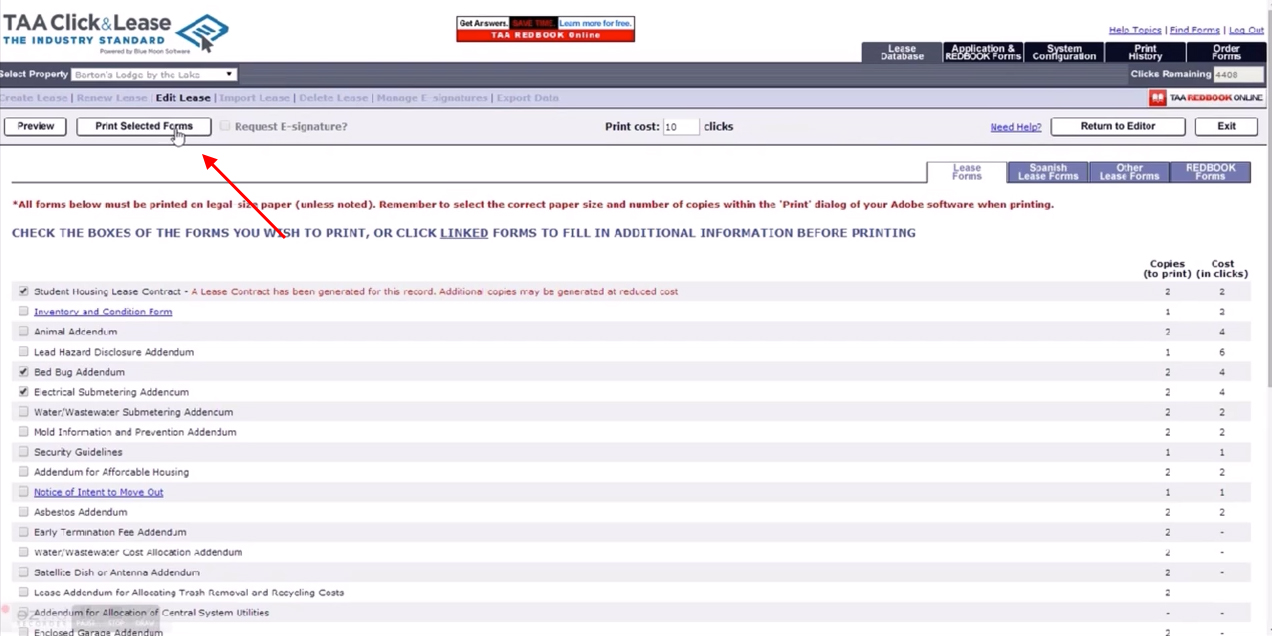
After the document has finished loading, scroll down to the last couple of pages to see any cover sheets that have been applied.
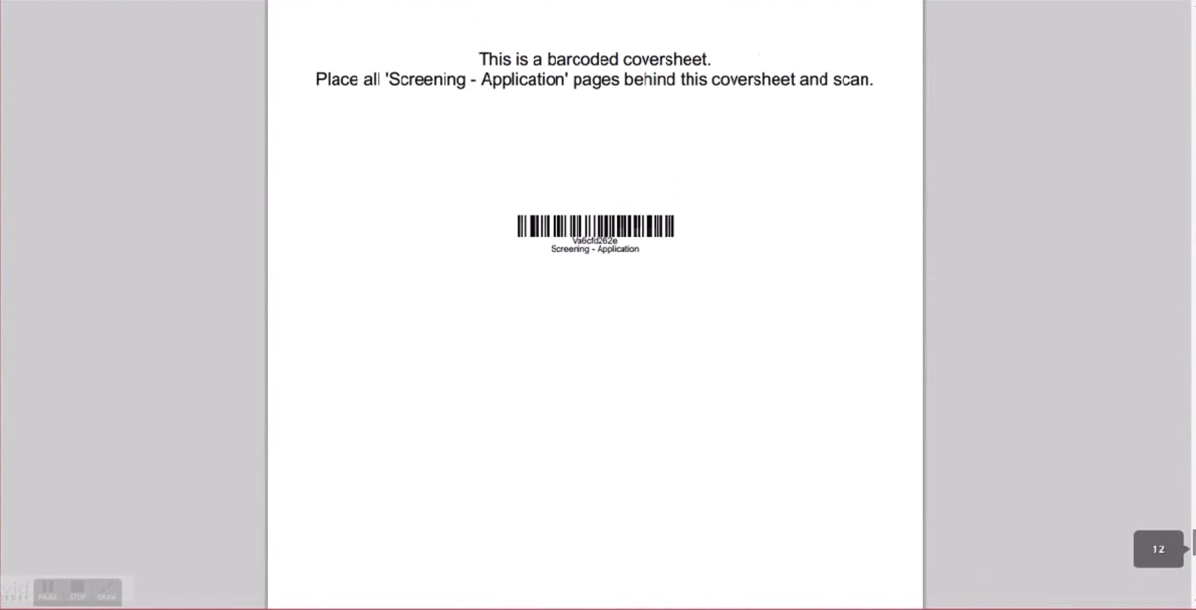
In this example you will see an application cover sheet.
This is the cover sheet you will use for all application documents.
Just put it on the top page, and scan the documents into Valence.
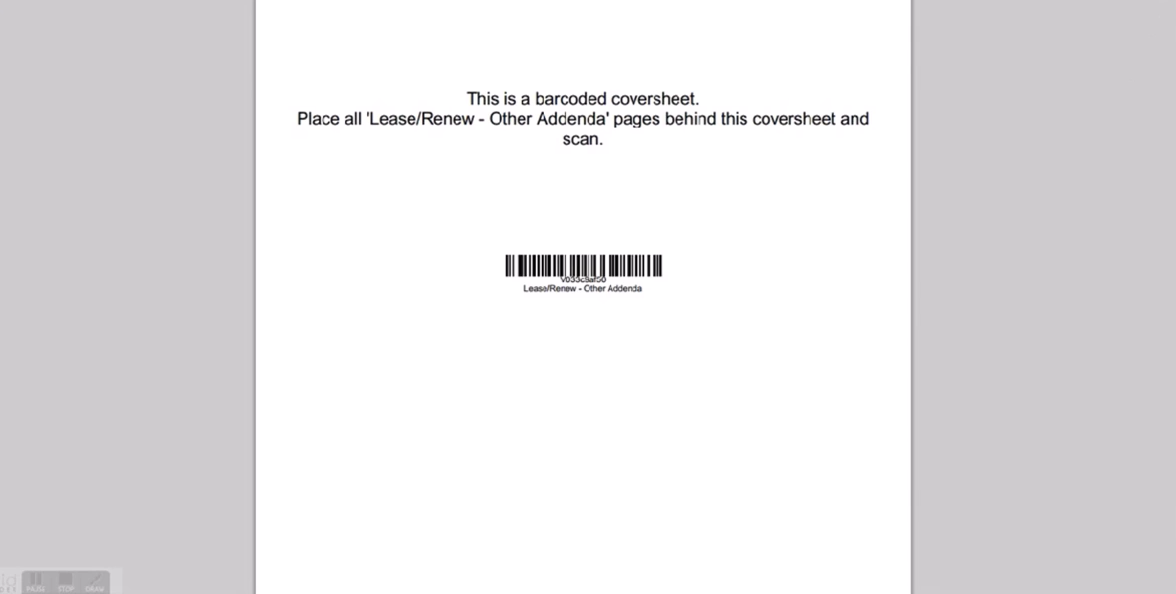
Here is the other addenda cover sheet.
This is the cover sheet you will use if you have a property specific addenda, such as a pet sheet, or other documents you would like to store with the account.
Now let’s go back to Valence to see how to modify label templates so you can have the cover sheets you need onsite.
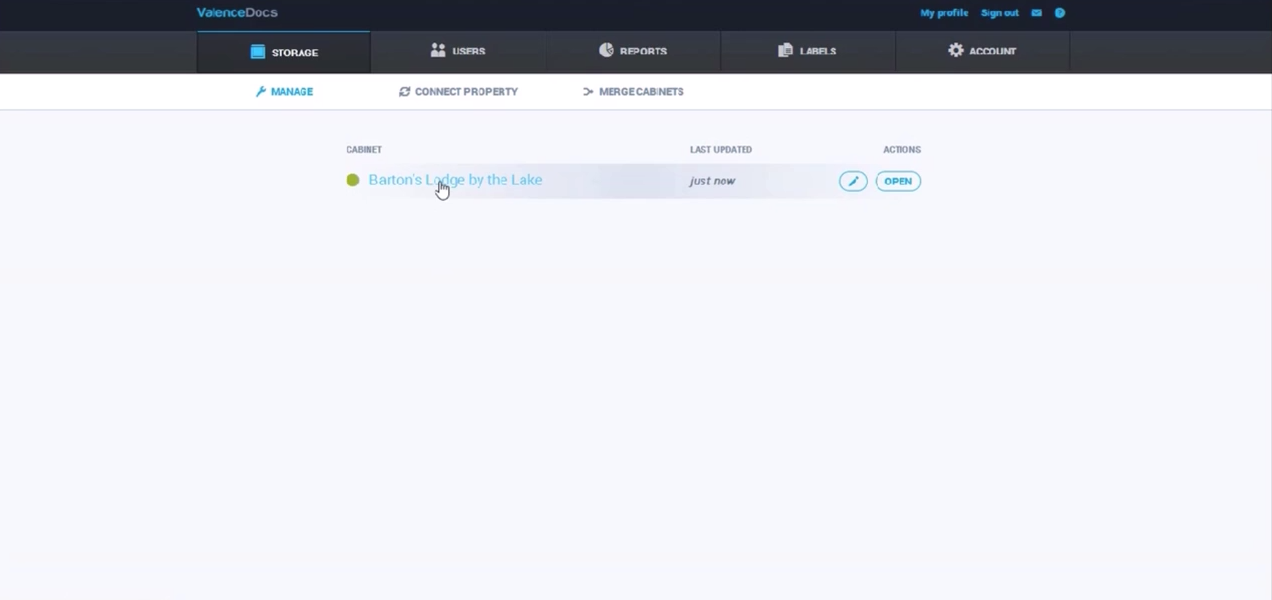
First go to the labels tab.
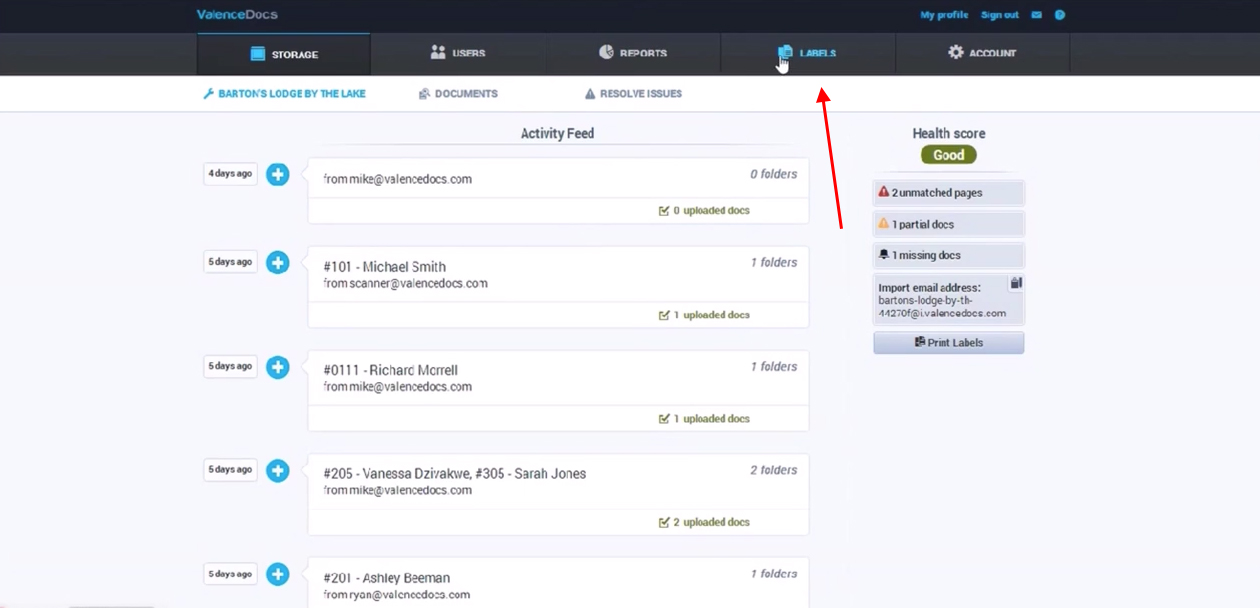
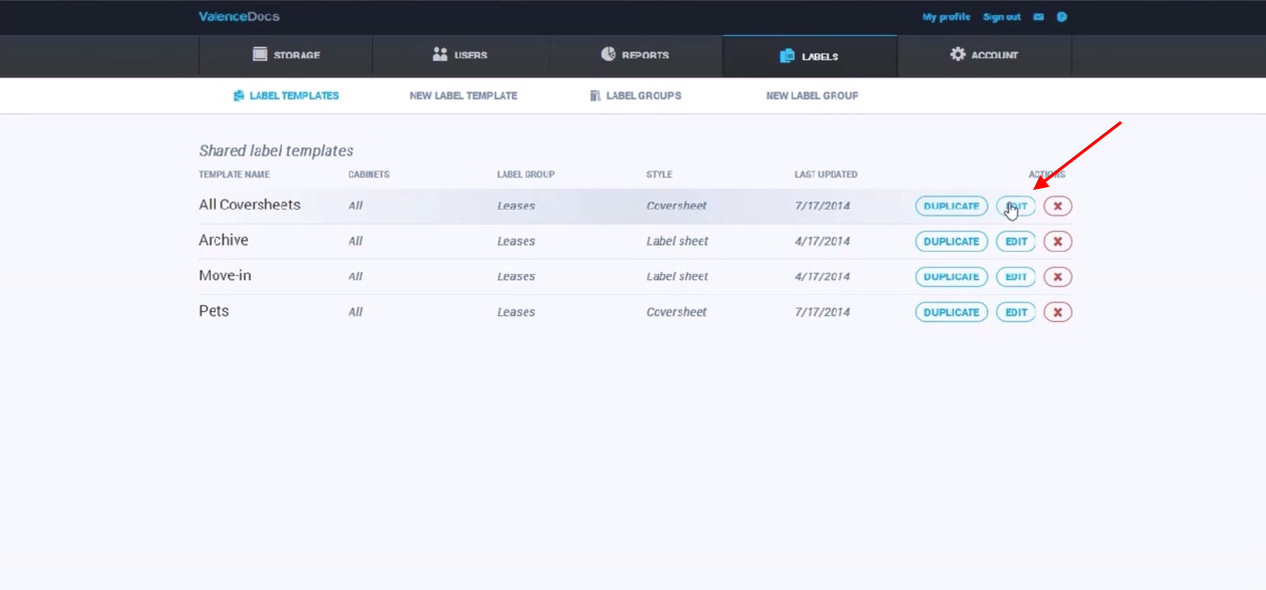
Here you see all the templates you can modify.
In this example we will select edit all coversheets.
Here you will see another addenda and application. These are the cover sheets we just saw when we went to print a document in Blue Moon.
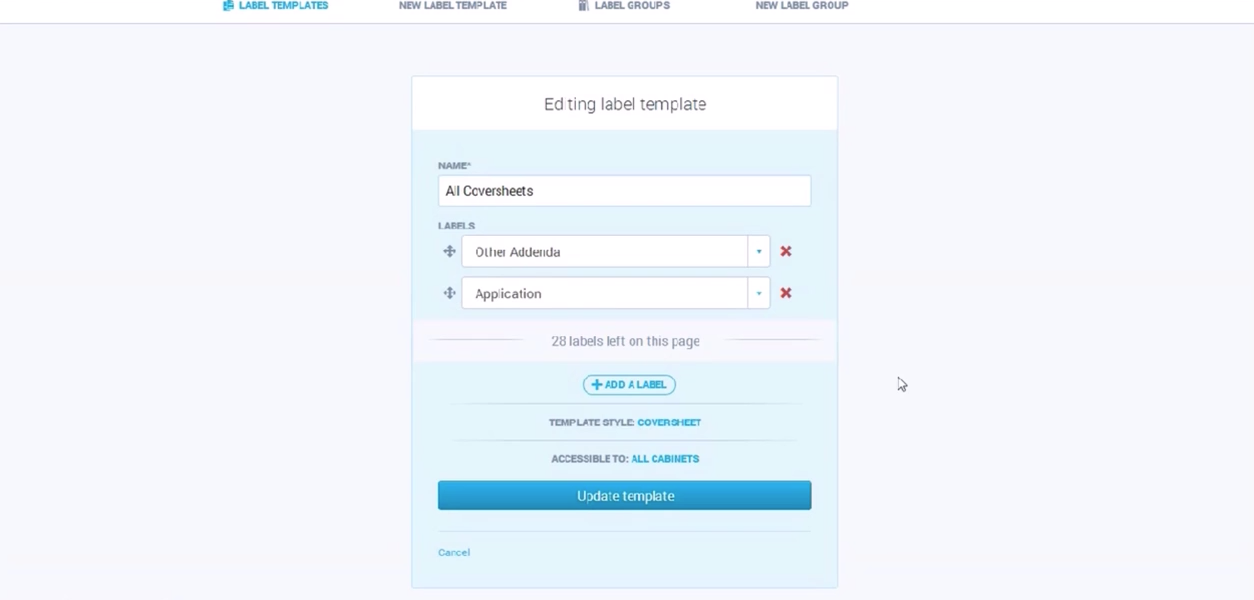
You can edit these names, or add a new label to add an additional cover sheet when you go to print from Blue Moon, or execute a document via e-signature.
For more on this, check out our reviewing and modifying a label template video in our support center.
